Presentations
Presentations
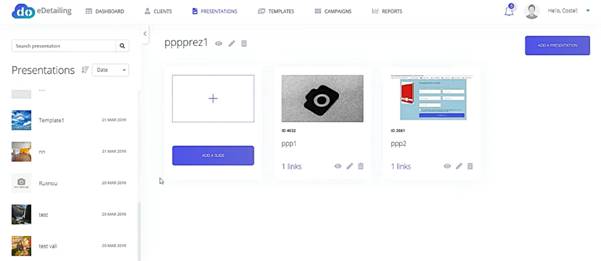
This is where you can see all your presentations and their content. The presentations you’ve created are displayed in the left sidebar area, while the presentation slides appear on the right side.
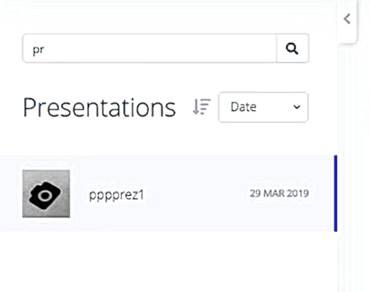
You can search or sort your presentation in order to find the one you’re looking for.
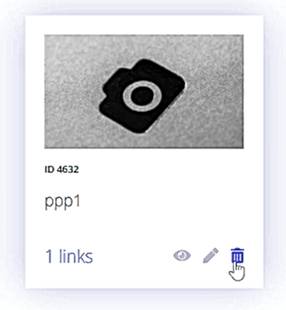
Add new presentation slides with just one click, or start editing current slides. Each slide has multiple options – a thumbnail preview, full-sized preview, edit and delete options.
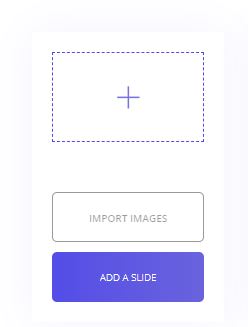
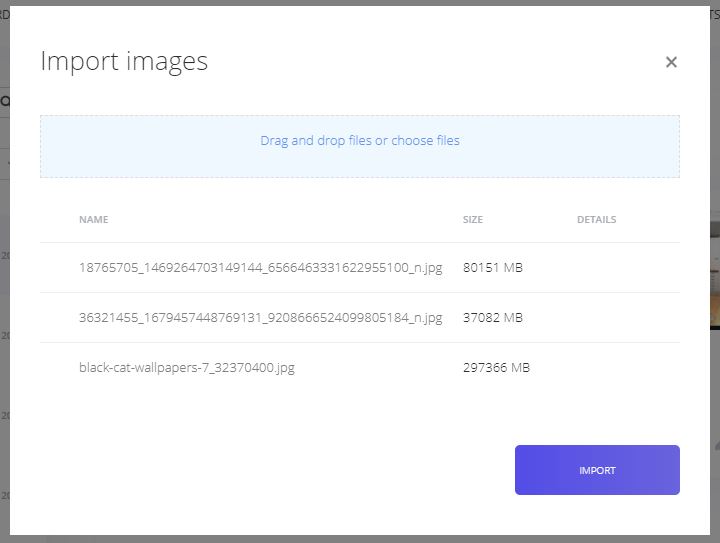
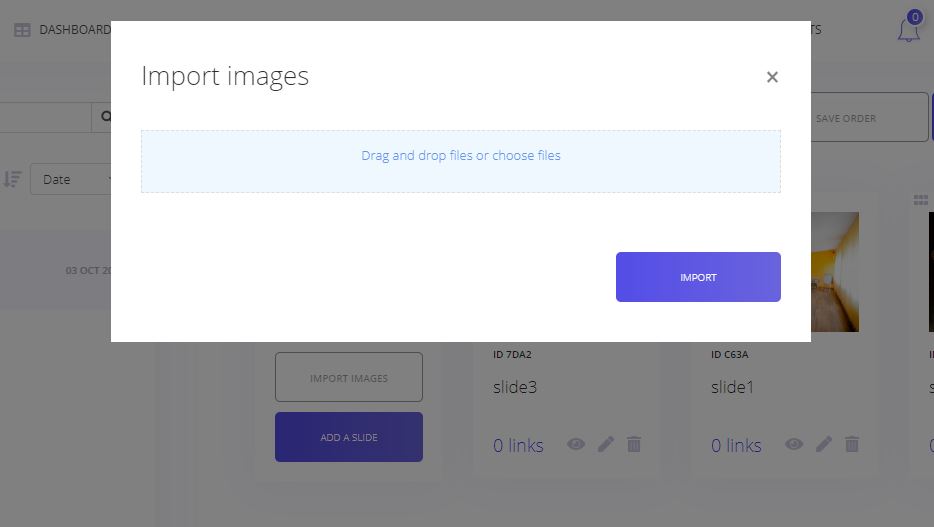
You can add multiple slides at once, using the image import option.
You can also preview your entire presentation and edit its name and description, by clicking on the icons near the presentation title.
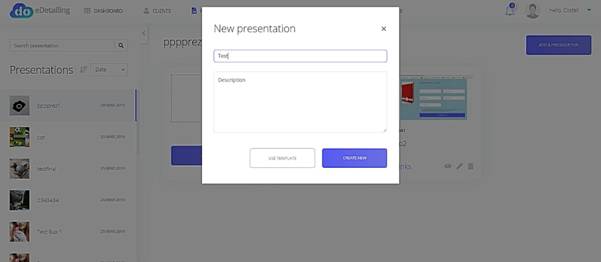
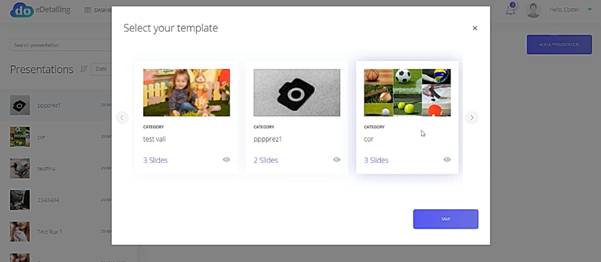
Add a new presentation by clicking on the button with the same name. A popup will appear and you will be able to fill in your presentation title, description (optional) and choose to either start a presentation from scratch, or use one of our presentation templates.
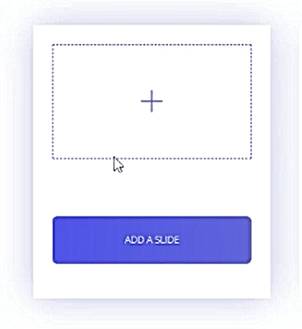
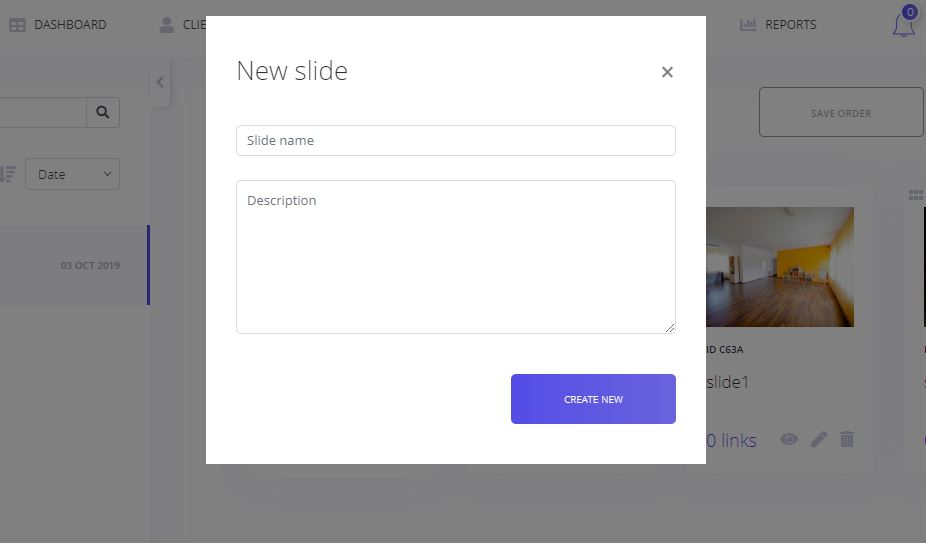
Let’s create a new presentation from scratch. Add new slides, by clicking on the Add Slide button. Give your slide a name and save. Do this for as many slides as you want your presentation to have.
Add new slides
Import new slides
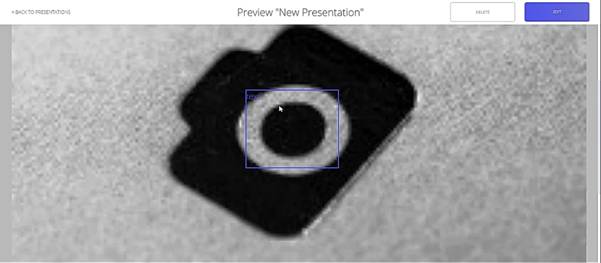
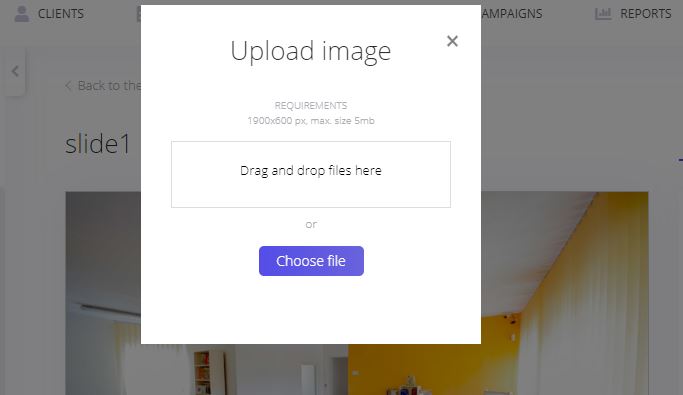
Once you’ve created the presentation and its slides, it’s time to edit the slides individually and add their content. First step is to set a background for your slide by uploading images files
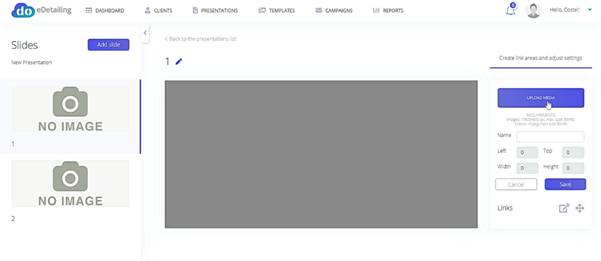
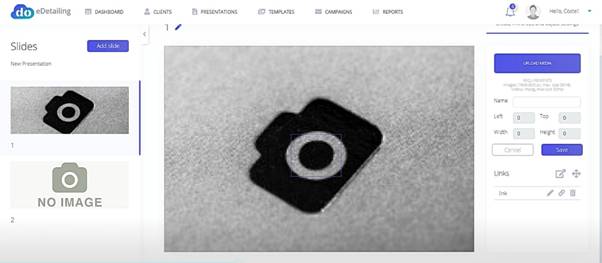
eDetailing helps you create interactive presentations, so drag and move to create click areas on your slide’s background. Once a link area is drawn over the presentation, give it a name in the right sidebar area and Save.
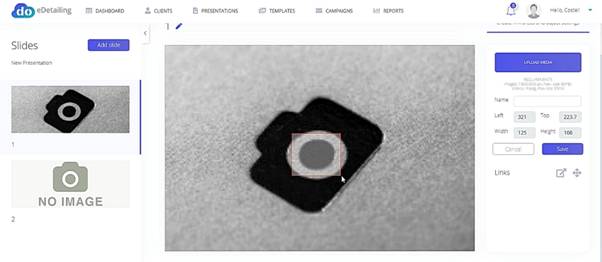
This is the process for creating link areas on your presentation’s slides. Create as many link areas as you want.
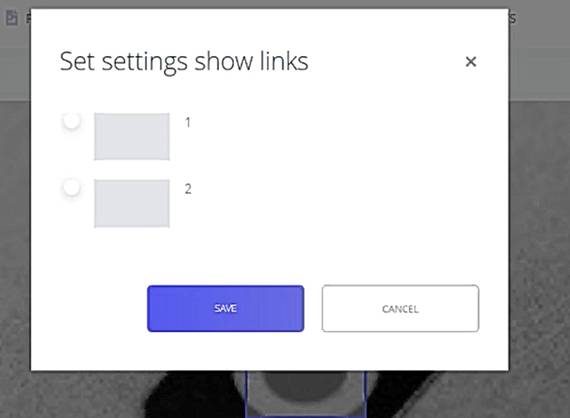
Each link you create has two editing options: send to slide and styling. To set an action for a link and make it send to another slide in the presentation when the user clicks on the designated area, click on the link icon and select the slide you want it to send to, from the list.
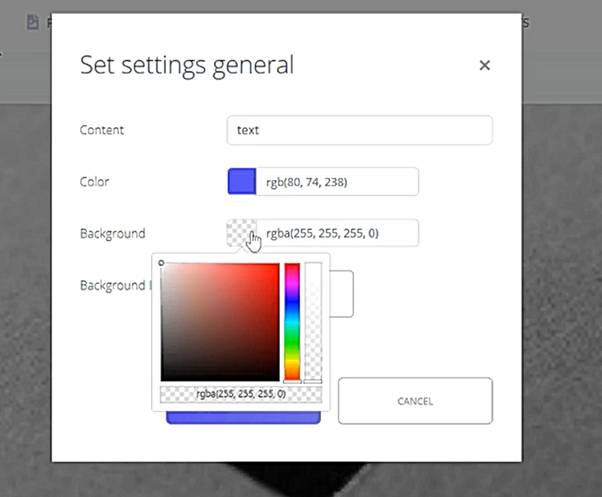
If you want to add some styling to your link areas, or even texts, click on the edit icon next to your link. You can give it a name, set an image background for it, a border color, and more, so you can easily recognize it in the presentation.
Link areas are only visible to you, the creator, and they will not be visible to the end users you send your presentation to. On the end-user presentations, only the background of the slides will be visible and the link areas functional, but without the rectangles you set in your editing area.
Go to editing other slides, by selecting the slide you want from the sidebar. Also, you can reorder them by dragging and dropping them to their new positions in the presentation. The reordering can also be done from the Presentations page.